
Reservio integration
Prerequisites, setup, field mapping, testing, and troubleshooting for the Reservio connection.
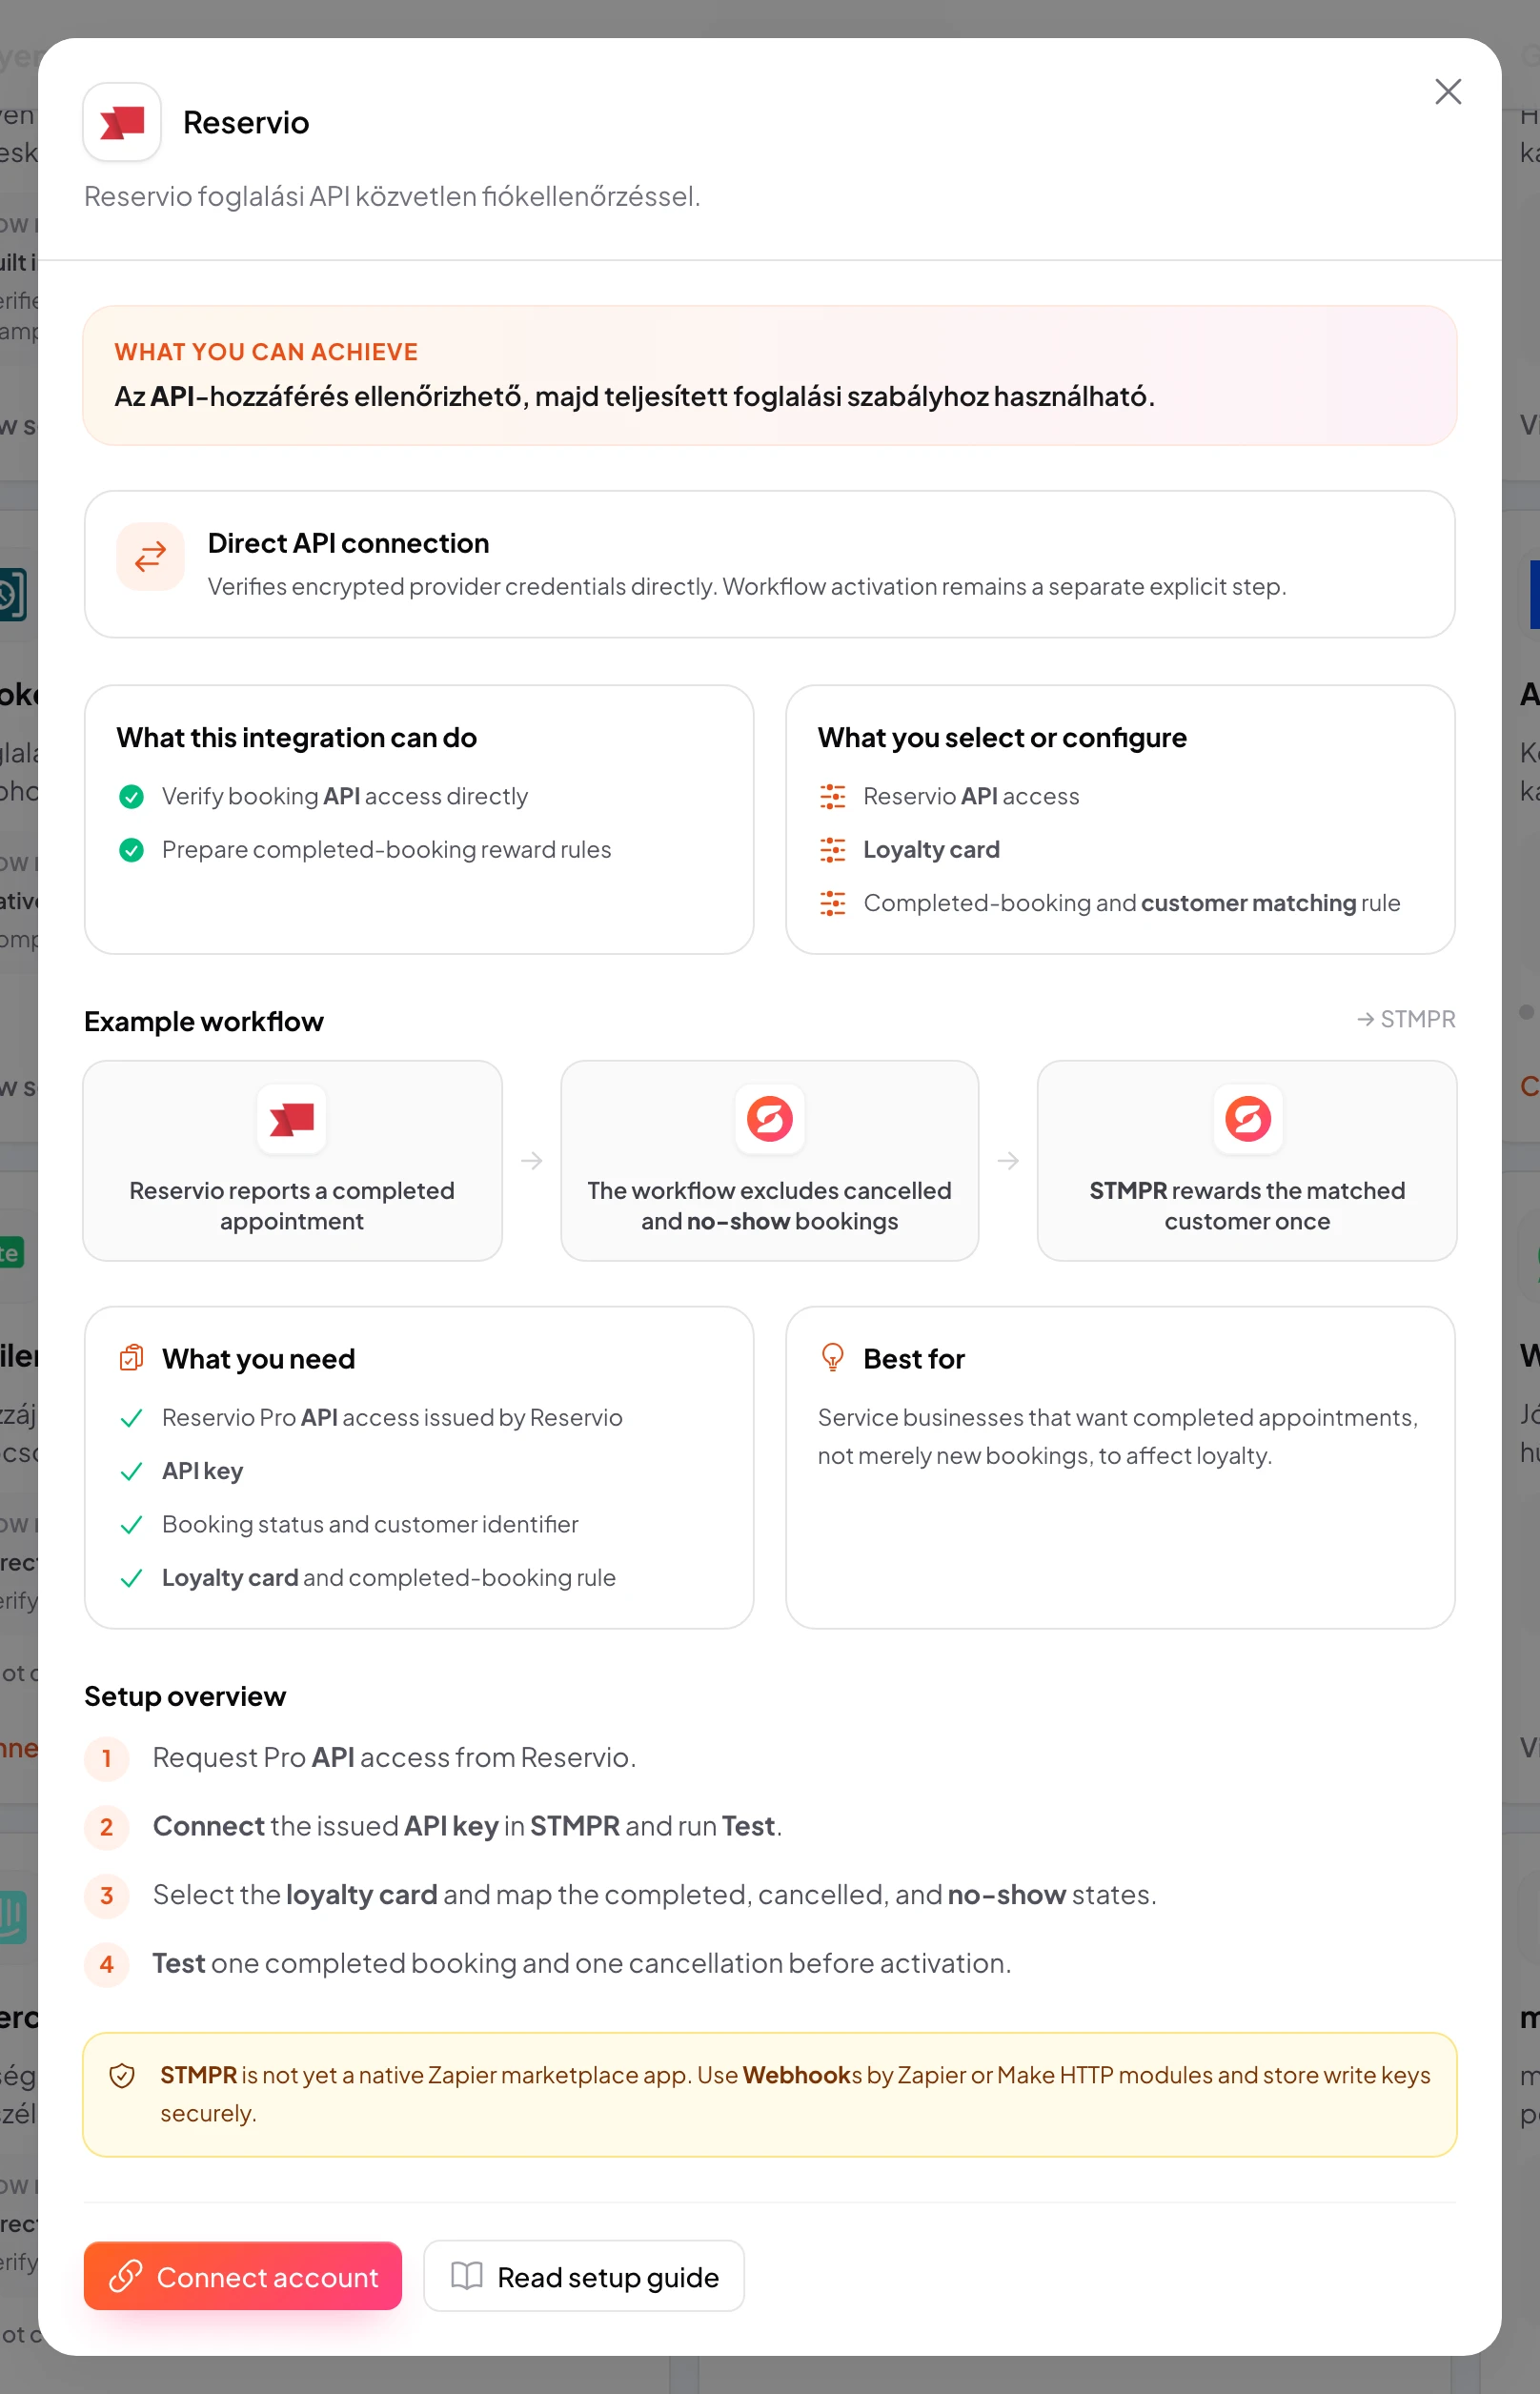
Use the Reservio integration to award a visit stamp while excluding cancellations and no-shows.
Data flows from the provider into stmpr.
Connecting the account does not activate a workflow by itself. Select the loyalty card, trigger, destination action, and customer matching rule separately.
Reservio
Image placeholder: Reservio: create the required access
https://stmpr.io/dashboard/integrations
Why use this?
Replace manual data transfers with a verified and observable workflow.
Idempotency prevents duplicate rewards, while consent gates protect marketing data transfers.
- 1A completed appointment
- 2Authentication, duplicate protection, and customer matching
- 3Award a visit stamp while excluding cancellations and no-shows
Step by step
- Prepare Reservio API access for the selected business.
- Create the required API, OAuth, or webhook access in Reservio with the narrowest practical permissions.
- In stmpr, open Developers → Integrations and choose Connect. The account is verified here, but nothing is synchronised to Reservio yet.
- Select the loyalty card, trigger event, and destination action.
- Configure customer matching. Prefer email or phone; use a provider ID only as a stable secondary key.
- Run a test with a test customer, then deliver the same event again to verify duplicate protection.
- Test failed delivery, revoked access, a missing customer, cancellation or refund, and consent withdrawal.
- After activation, monitor the first live events. To disconnect safely, disable the workflow before revoking provider access.
What you select and verify
- Trigger: a completed appointment
- Action: award a visit stamp while excluding cancellations and no-shows
- Loyalty card, business, or location
- Customer matching and required fields
- Consent, refund, cancellation, and no-show rules
- Test data, duplicate protection, and delivery log